Dryer Lint Art
Making art out of dryer lint is very time consuming and tiring! That’s why it takes a long time between my pieces.
Paint is faster and easier to sell. The time required for making a dryer lint piece is more like making an all-hand-sewn and embroidered quilt.
It takes me about three weeks to do a standard 11 x 14 piece, but I can only work about three hours a day because of my limitations. But for all those artists out there, remember that you cannot let a disability stand in your way. I have a lot of nerve damage and stage 3 lymphedema on my right side. My fingers’ dexterity is more like wearing mittens. I struggle to hold a bottle of gatorade, and often drop things. But I refuse to let that stop me.
Also frustrating is the fact that because it is not a standard art material, some shows and galleries won’t accept it, and some people say “Why should I pay that much for dryer lint?” while being willing to pay that much and more for paint, which is pretty cheap, too, people.
Anyway, when I spend as much time sorting and filing lint as I do making the art. Each piece takes two days just to pull all the colors needed from my dryer lint collection.
Here’s a video showing the day-to-day process of making a piece:
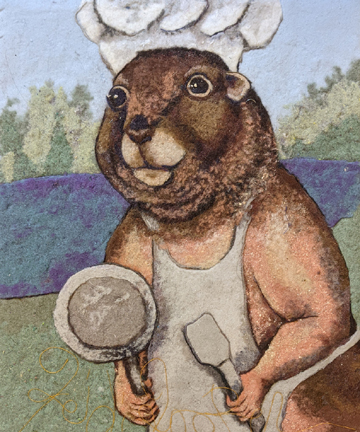
First, I create in my head a story to tell. A cat sipping milk is nice but a cat drinking milk is a still life like a bowl of fruit — it might be pretty but it doesn’t tell a story. Instead, a picture of a cat drinking while looking confused at a tiny mouse sharing his milk gives us a story.
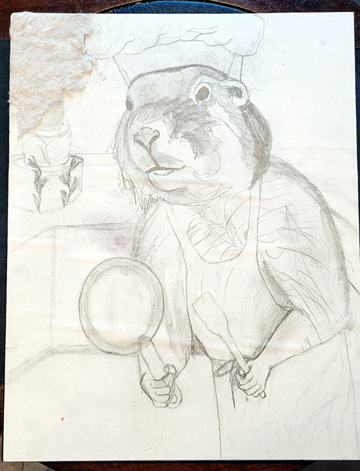
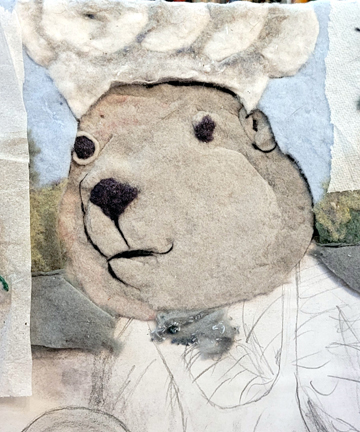
Next, I sketch on rough paper with pencil. I work on the shading, because it helps me see how the piece will look when it’s done. I take pictures as I go along so I have a reference in case things change. I then glue my picture onto a thick foam core, and use archival spray glue on the sketch to prevent the pencil carbon from smearing or bleeding.
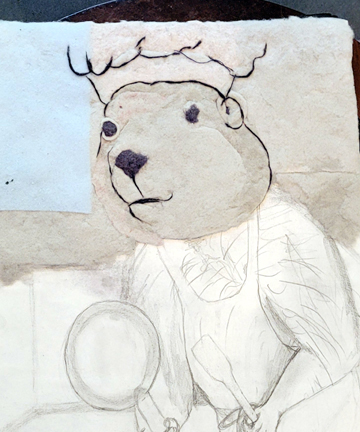
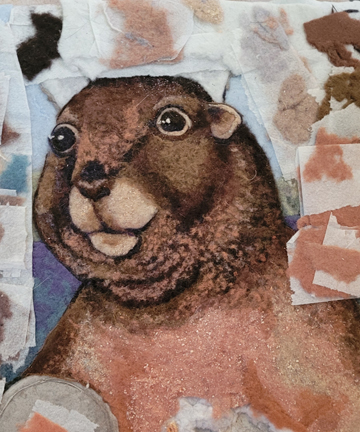
I then apply archival glue to hold the first layer of lint in place. I put a thin brush of archival in a top corner. I then rub it around making the spread bigger and thinner. This is the only glue I use. I then add padding down for the first few layers. Overlapping them so they will stay put. I change the tone of the gray lint according to the sketch. So in essence, there is a gray piece under the color piece.
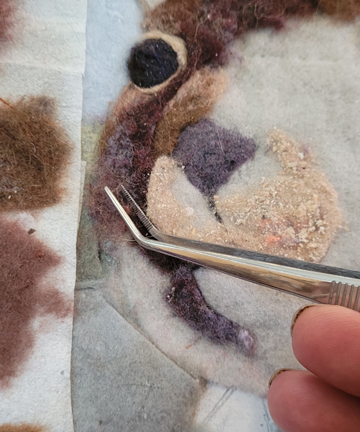
Then I do 4 to 5 layers of the desired colors. For doing this part, think dominoes over lapping when they fall, so you have to do the lowest layer a bit larger then the spot you are on. If not, things can slide and change the picture. Each layer has to be pressed into place. I use tweezers because my hands are crap and can’t hold things easily. I also work at a 15 to 20 degree angle — not flat, but almost. When working on a large piece on an easel, I use more glue (a gravity thing) but then I have to add more layers to compensate for the lint that the glue eats.
A finished spot is about a half inch thick. I then have to pull and remove any odds like pet hair or unwanted threads before moving on, because I’ve found if I wait till the end, I miss stuff.
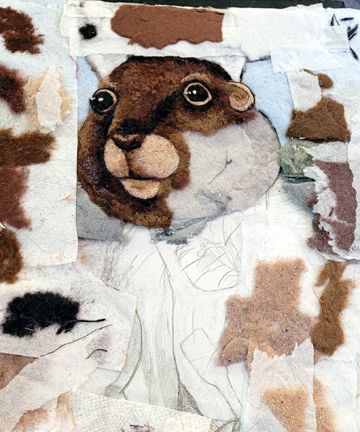
Next comes shading, which takes the most time. I use a color that is a minimum of three shades darker. When I don’t have the right color, I make it work by using subtle shading, implementing a color that combines with the other colors near it. For instance, if you have blue and green, an aqua will work for the shading. This requires tweezers, because most shading is done with a very fine and thin piece of lint that is almost impossible to hold with your fingers. I gently pull a piece of lint in half, over and over again, until I can see through it, letting me know I can place it on top of the piece to gently shade areas together as I want.
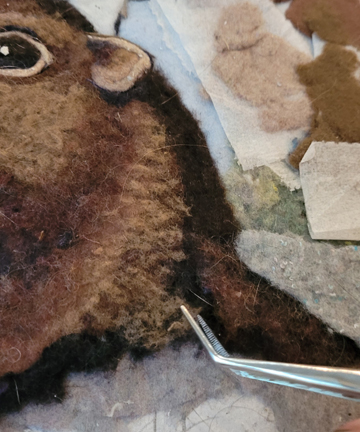
Lines, hair, eyelashes and such are done by making “snakes” like you would for clay: Rolling the lint into lines. I use scissors to get them the thickness I need, and roll them in my hands until it feels like string.
To get really fine, I will sometimes just use thread. Silk thread works the best. However, since it is machine made, it sometimes looks too stiff for edging, but it’s great for eyelashes and detailing animal fur. I find a mix of both silk and by-hand give good results. I prefer all by-hand myself. I will use it for cat whiskers when I am out of real whiskers.
To sign it, I use only thread, using tweezers. When the thread fights me, I dampen it a little to help it stick to the piece.
Then it has to be placed in a frame with a glass to hold it in place. I must press the outside edges of the piece slightly on all 4 corners. This is because it is thick and about to be compressed. This stops any distortion, and keeps all lint in the piece when put into the frame. I use only museum glass on all my work now, because it does not reflect the light and keeps the colors from getting washed out in the sunlight.
When people send me lint, I always keep it in a plastic bag for three months minimum, because sometimes I have gotten lint that had bugs or a moth. It’s then sorted and placed in airtight containers for the same reason.
SEND ME LINT!
It’s not like I can go to the art store and buy supplies! Most of my lint comes from people who mail it from all over the world. It’s wonderful to have such support!
None of the lint I use is dyed (you can’t dye lint!) so I really appreciate everyone who sends bright colors. I don’t need grays!
To thank people who send me lint, I send out gifts every year: signed limited edition prints, cups with my artwork, gift bags, and so on.
And if you can’t spare lint but still want to support my work (and get swag), please become a patron! Even a dollar a month means a lot to me to know you support me.
If you do send lint, please pack them flat and use a piece of paper to separate each one. (The better packaged, the better the gifts you will receive!)
MAIL TO: Heidi Hooper, PO Box 333, Tannersville, Pennsylvania 18372.